

Introduction
In the world of civil engineering, when cracks appear in a dam just a couple of weeks after the concrete has been poured, it can be quite concerning. In this article, we’re going to take a detailed look at a case study involving a concrete block. This block was constructed with different concrete strengths (C 25, C 18, and C 12) and had dimensions of 16 meters by 25 meters by 2 meters. The unexpected appearance of cracks led to an in-depth investigation and an extensive repair process.
Understanding the Cracks: A Step-by-Step Study
Upon noticing these unexpected cracks, our team decided to take a systematic approach to understand them better. We began by measuring the width of the cracks at various locations and marking their endpoints. This allowed us to keep track of how these cracks were developing. Over the course of a week, we recorded daily changes in crack width and observed whether the cracks were getting longer.
Cracks appeared two weeks later, and their pattern made us suspect shrinkage as the cause. the cracks weren’t available in the core samples that we drilled after 7 days of placing for rock consolidation grouting.


This confirms us the crack is less than 10 days old and might not be solely due to the thermal stress because the peak temperature reaches at 3 to 4 days time. However, our limited investigation couldn’t confirm exact reason for the crack in the concrete.
Read the concise guide to investigate types of cracks in the concrete and probable reasons.
Surprisingly, considering the cracks were first noticed just 18 days after the concrete was poured, they had already reached their maximum length and width. During the week we observed them, the cracks didn’t widen significantly, and they only grew by a few inches in length.
After monitoring for an additional three days, we concluded that these cracks had gone as far as they would naturally go. It was time to move on to repair procedures.
The Cracks: A Complex Challenge
These cracks covered the entire concrete block, which was a significant issue. Making matters more complicated, the concrete was in direct contact with rock, which allowed water to seep through the cracks. The best solution, epoxy treatment, couldn’t be used initially due to the seepage. Seepage could disrupt the effectiveness of the epoxy hardening process.
The Role of Consolidation Grouting
To address the seepage issue, we decided to use consolidation grouting. This technique involves injecting cement grout into the rock foundation, reducing permeability and improving the foundation’s condition. By doing this, we managed to minimize the seepage of water, creating the right conditions for epoxy treatment to tackle the cracks.
Epoxy Treatment: A Precise Procedure
Our epoxy treatment procedure followed several meticulous steps:
Preparing the Surface: We began by cleaning and drying the crack surface using a high-pressure water jet and hot air blower. This process helped reveal the cracks clearly, with absorbed water highlighting them during the drying process.

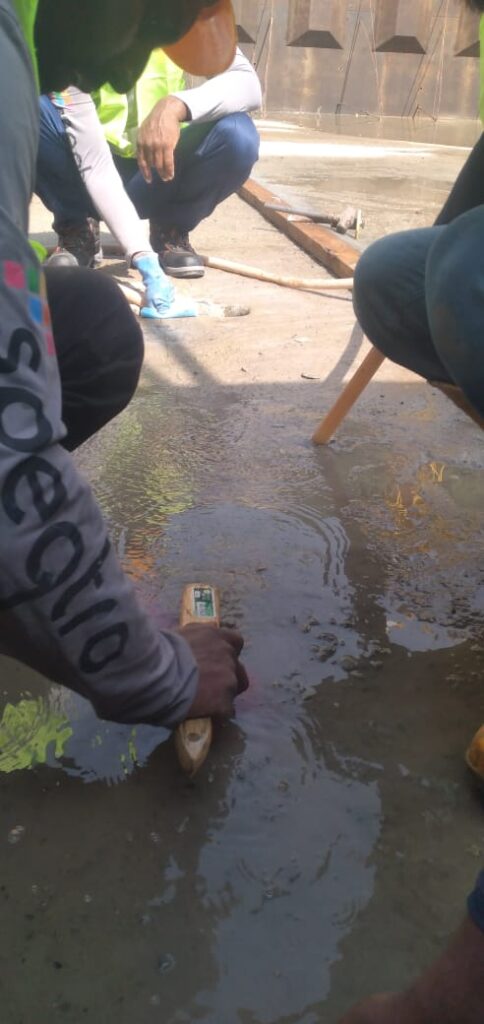
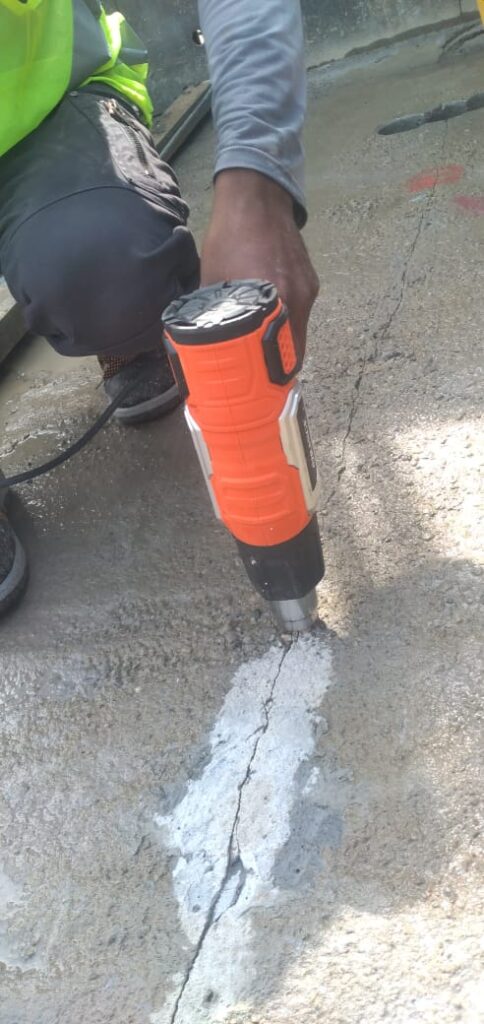
Creating Grooves: We used an electrical cutting wheel to carve a 5 to 10mm groove along the crack. This ensured that the sealing material would be inserted effectively.

Drilling: At a 45-degree angle, we used an electric drill to intersect the crack at a depth of 150mm to 200mm. Packers were installed at drilling locations, spaced 250mm to 300mm apart on both sides of the crack.

Verifying Drilling: To ensure the drilled holes connected with the crack, we injected water through several packers, confirming water exit at the crack.
Applying Sealing Coatings: We applied two sealing coatings to the crack, allowing each layer to harden for 12 hours. It’s crucial to cover the area around the packer locations during sealant application.

Epoxy Injection: We injected epoxy material into the crack, monitoring the pressure until epoxy emerged from the next packer. This process continued until the entire crack was sealed.
Core Sample Analysis: Uncovering the Outcomes
After injecting epoxy, we took another core sample from the crack to verify whether the epoxy had reached the crack’s bottom. The analysis revealed an interesting result: the consolidation grout had treated the crack’s bottom half, while epoxy had only reached the top half. The core sample had split due to the weaker tensile strength of the cement grout.
Ensuring Impermeability: Water Pressure Test
Given that this was a dam body concrete, impermeability was of utmost importance. To guarantee this, we conducted a water pressure test through the crack from multiple locations. Following the pattern of the crack grouting holes, we drilled 50mm diameter holes and conducted water pressure tests at each location. Holes with permeability less than 2 Lugeon were considered treated and sealed with a 1:1 mortar mix.
Crack Mitigation for Future Stability
To prevent the crack from affecting the new concrete layer, we used two methods:
Half-Round Pipe: We placed a half-round PVC pipe with six attachments for further grouting along the crack. This setup ensured that the crack wouldn’t extend into the new concrete.

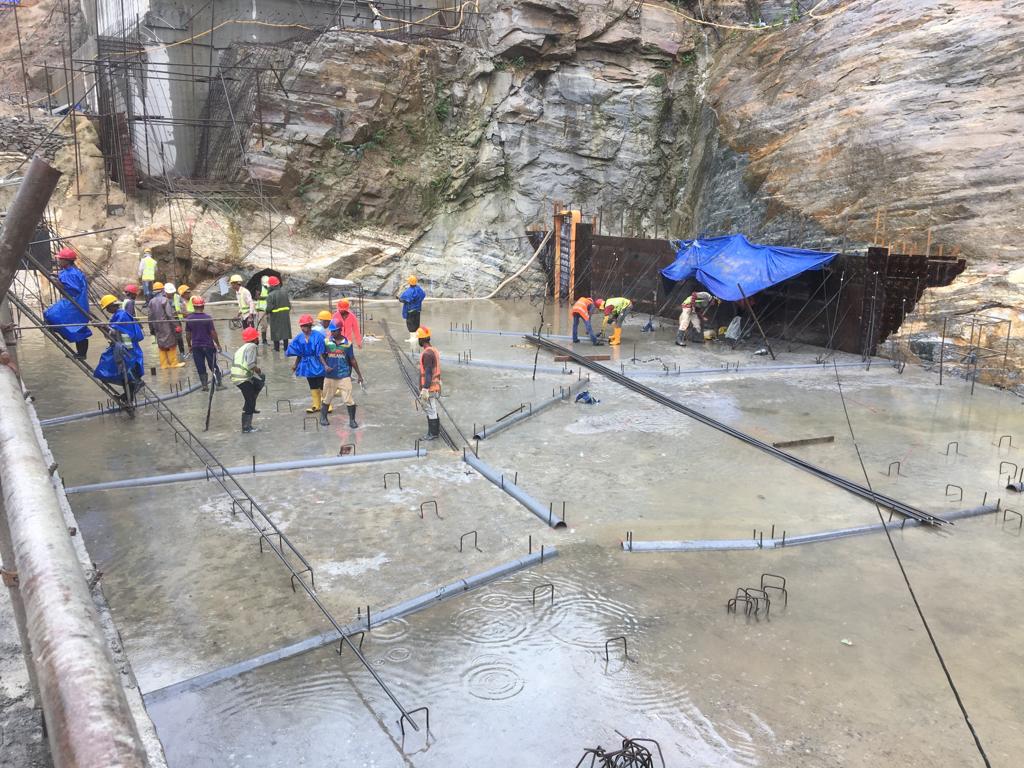
Reinforcements: To eliminate the risk of the bottom concrete crack affecting the top concrete layer, we reinforced the concrete with two sets of reinforcement nets. These nets featured 25mm bars as the main bars, spaced 150mm apart, and 20mm bars as distribution bars, spaced 200mm apart. The first rebar net was positioned 200mm above the crack, with the next one placed an additional 200mm higher.


Conclusion: A Comprehensive Solution
In conclusion, the unexpected appearance of cracks in a dam’s concrete block required a comprehensive approach that combined meticulous observation, careful planning, and precise execution of repair procedures. By addressing not only the visible cracks but also underlying issues like seepage and ensuring impermeability, we were able to restore the structural integrity of the dam, ensuring its longevity and safety for years to come.


